
The work
How we template and cut a granite countertop, step by step
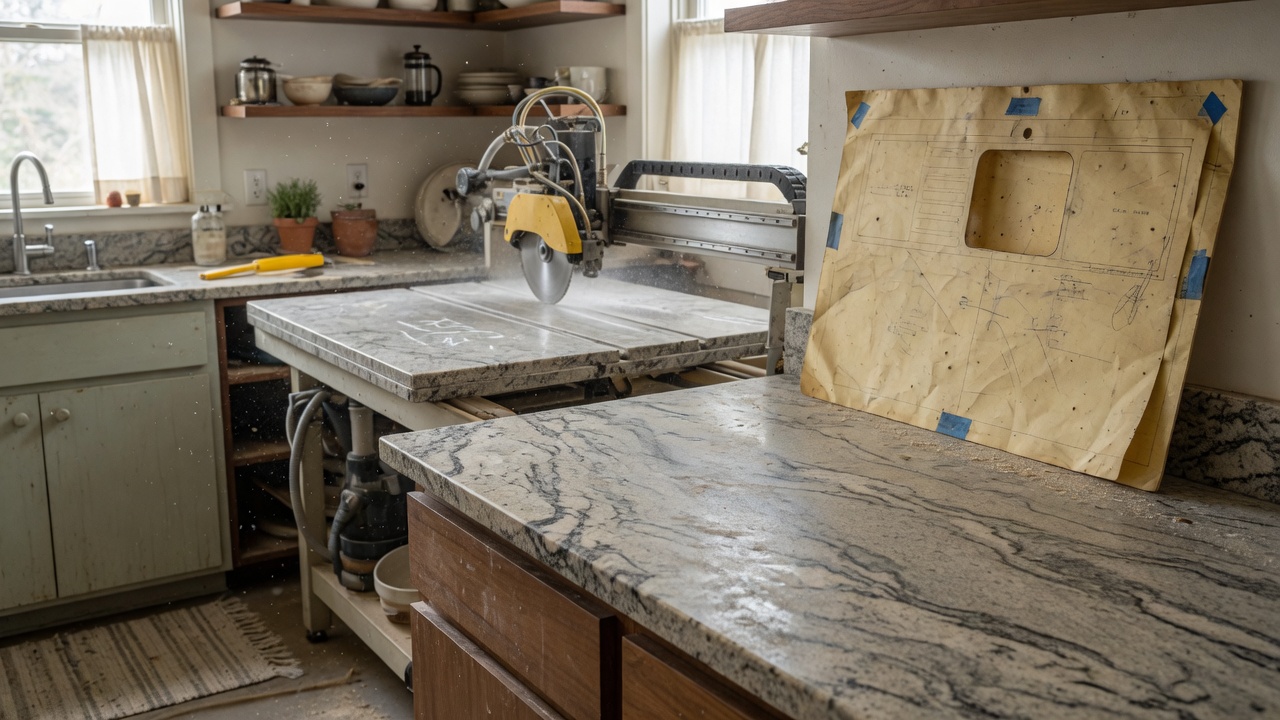
Granite doesn't go from quarry to your kitchen in one step. There's a process behind it, and knowing what happens at each stage helps explain why we make the choices we do, especially around seams. People ask about seams more than almost anything else.
Two ways to template: laser vs. physical
Before we cut anything, we have to know the exact shape of your cabinets. There are two common approaches in this trade.
Digital laser templating
- A handheld laser tool maps your cabinet layout to the fraction of an inch.
- It catches out-of-square walls and cabinet runs that look straight but aren't.
- The data goes straight into the cutting software, so there's less room for a measuring mistake to travel downstream.
- It's fast. Most kitchens template in under an hour.
Physical templates
- Some shops still build templates out of thin plywood or hardboard strips, cut and hot-glued to match your cabinets.
- It works, and it's been done this way for decades.
- It takes longer and depends more on the skill of whoever's building it.
- It's still useful for odd angles or tight spots where a laser has a hard time getting a clean line.
We lean on laser templating for most jobs because of the accuracy, but we're not against pulling out a physical template if a space calls for it. The goal either way is the same: a shape that matches your cabinets exactly, because granite doesn't flex to fit a bad template.
Slab selection: picking the actual stone
Once we have your layout, you come to the shop and pick your actual slab, not just a sample chip. This matters more with granite than with a lot of materials because granite is a natural rock. Two slabs sold under the same name can look noticeably different in movement and color. We lay out where your template will land on the slab before anything gets cut, so you know what pattern will show up on your island versus your perimeter.
Cutting: CNC versus hand-guided saws
CNC cutting
- A computer-controlled saw or waterjet cuts the slab based on your digital template.
- Cuts are precise and repeatable, which matters for sink cutouts, faucet holes, and edges that need to match up at a seam.
- Most shops, including ours, use this for the bulk of straight and moderately complex cuts.
Hand-guided cutting and finishing
- Curves, custom edge profiles, and fine detail work still come down to a fabricator's hands and a router or grinder.
- Polishing an edge profile so it's smooth and consistent along its whole length is skill, not just a machine setting.
- This is where experience shows. A rushed hand-finished edge looks rushed.
Both stages happen on nearly every job. The machine gets you a precise blank; a skilled fabricator turns that blank into a finished countertop.
Why seams land where they do
This is the question we get asked the most, and it deserves a straight answer instead of a vague one.
- Granite slabs come in limited sizes, usually somewhere around 9 to 10 feet long. A long countertop, especially an L-shaped kitchen with a big island, often can't come from one slab.
- We place seams at the narrowest practical point, usually near a sink base or in a spot where cabinets already break up the sightline.
- We avoid putting a seam in the middle of a high-traffic prep area if we can help it, because that's where you'll notice it most.
- Seam placement is also about the slab's pattern. We try to match veining or movement across the seam so the two pieces read as one continuous surface instead of two mismatched slabs pushed together.
- A well-cut, well-fit seam is tight and filled with a color-matched epoxy. You'll be able to feel it if you run a fingernail across it, but you shouldn't be able to see a gap.
We'll walk you through where seams are planned before we ever cut, so there aren't any surprises on install day.
Install day: what actually happens
Granite is heavy, and a big slab piece can weigh several hundred pounds. Installers use suction cups and sometimes a slab dolly to move and set pieces without chipping an edge. Once pieces are set, they're leveled, seamed, and secured to the cabinets below. Sink cutouts and faucet holes get their final polish on site if needed. Then we seal the stone. We do this at install with a top-shelf sealer, applied by installers we've trained to do it right, so you're not left figuring out sealing on your own the week you move in. You'll want to reseal every so often down the road, usually about once a year for a kitchen that sees regular use, but that first and most important seal is already done when we leave.
Who this process suits
If you want a natural material with real depth and pattern variation, and you're fine with a seam or two placed thoughtfully, granite fabricated this way gives you a countertop that looks intentional, not assembled. If your priority is a single unbroken slab look with zero seams no matter the layout, that's a harder ask with granite's slab sizes and might steer you toward a different material or a design conversation about smaller islands or split runs.
If you're planning a kitchen and want to see how your specific layout would seam out, bring your cabinet measurements by our shop at 2015 Charleston Hwy in Cayce. We can walk the slab yard with you and talk through where the cuts would actually fall before you commit to anything.